2 min read
Lookbooks & Hotspots
Lookbooks are full-screen images that can be browsed by the user in a "digital catalogue" style, and can be linked to products either through hotspots on the image or as a shop the look modal.
Adding a new Lookbook
Simply click on ‘Add New’ in the top menu under ‘Lookbooks’. Give the Lookbook a title, and press ‘Save’.
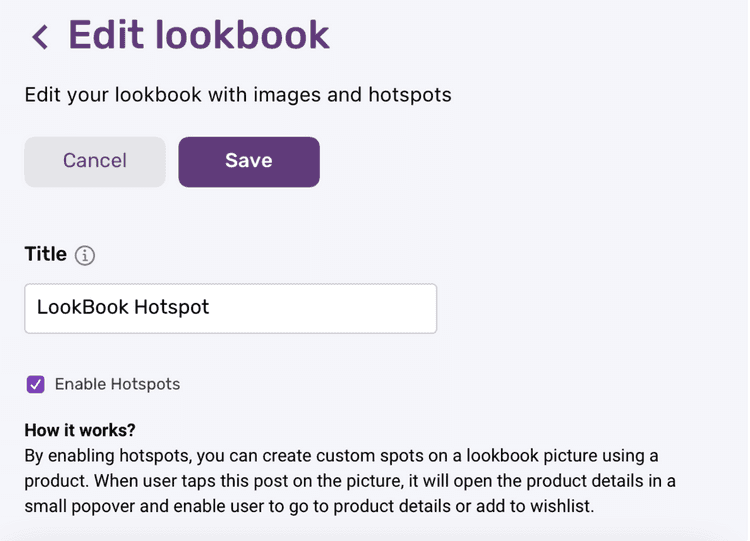
Next, you will need to decide if the Lookbook should allow Hotspots. (These are custom hotspots shown on the uploaded image that matches a product in the image to the specific product in the product details popup.)
To enable Hotspots, click the ‘Enable Hotspots’ radio icon. You’ll now need to add images to this Lookbook. This works in the same way as adding pictures anywhere else in the app – click ‘Add Picture’ and then upload a new image or select from the Asset Library.
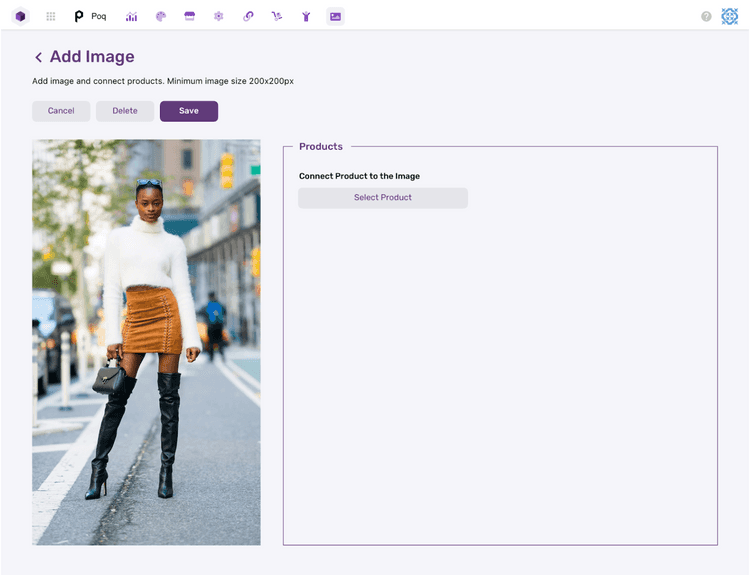
Once you have added a new Lookbook and uploaded an image to it, you’ll have a screen like this:
Now you need to go in and link products to each individual image. There is no limit to the number of products you can add to each image. Only two will be visible below the image at once, but customers can swipe back and forward to view the other products.
Adding products to a Lookbook
To add a product to an image, click on ‘Select Product’
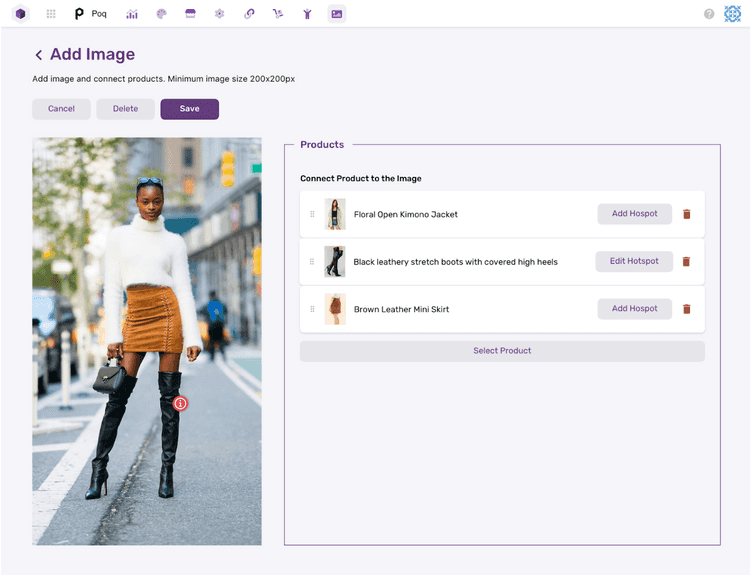
Simply search for the product(s) you’d like to add, and when you see it pop up, click on it. It will automatically be added to the Lookbook image.
Repeat the process to add additional products to the Lookbook.
You’ll see this screen:
Enabling hotspots for Lookbook
Lookbook hotspots can be enabled while creating a new Lookbook. You just need to tick the “Enable Hotspots” checkbox as shown below.
Editing hotspots of products
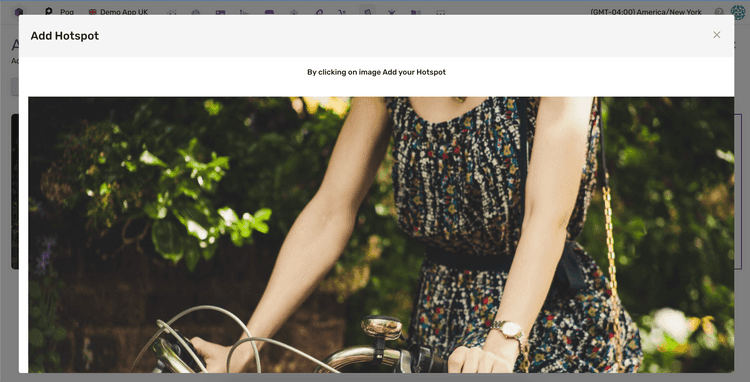
Once hotspots are enabled, you will see a ‘Add Hotspot’ button next to each product you have added. Once you click the ‘Add Hotspot’ button you will see an expanded view of the Lookbook Image and should be able to select the position where the product appears. Drag the ‘i’ symbol to the specific position it should be seen by users and then press “Save”. Repeat this process for the additional Products that appear in the Lookbook. Please make sure the products are available in the app so can be visible.
Lookbooks that have Hotspots can be identified on the Lookbook overview page with the Hotspot Icon overlay on the image preview.


