3 min read
Enable web checkout with the JS Bridge
Web checkout on your app is enabled by the Poq JS Bridge. This is a JavaScript snippet that, when added to your web-based checkout, opens up communication between your web page and the Poq app on your customer’s device.
The bridge allows data about your customer’s order to flow seamlessly and securely between the payment screens of your website and your app.
To complete this process you should also refer to the Poq Web Checkout API documentation for details on the transfer of data between your app and your website.
Outline of requirements
To enable web checkout, you need to complete the following steps:
- Set up your checkout pages to support mobile view.
- Ensure your website can identify requests from your Poq app.
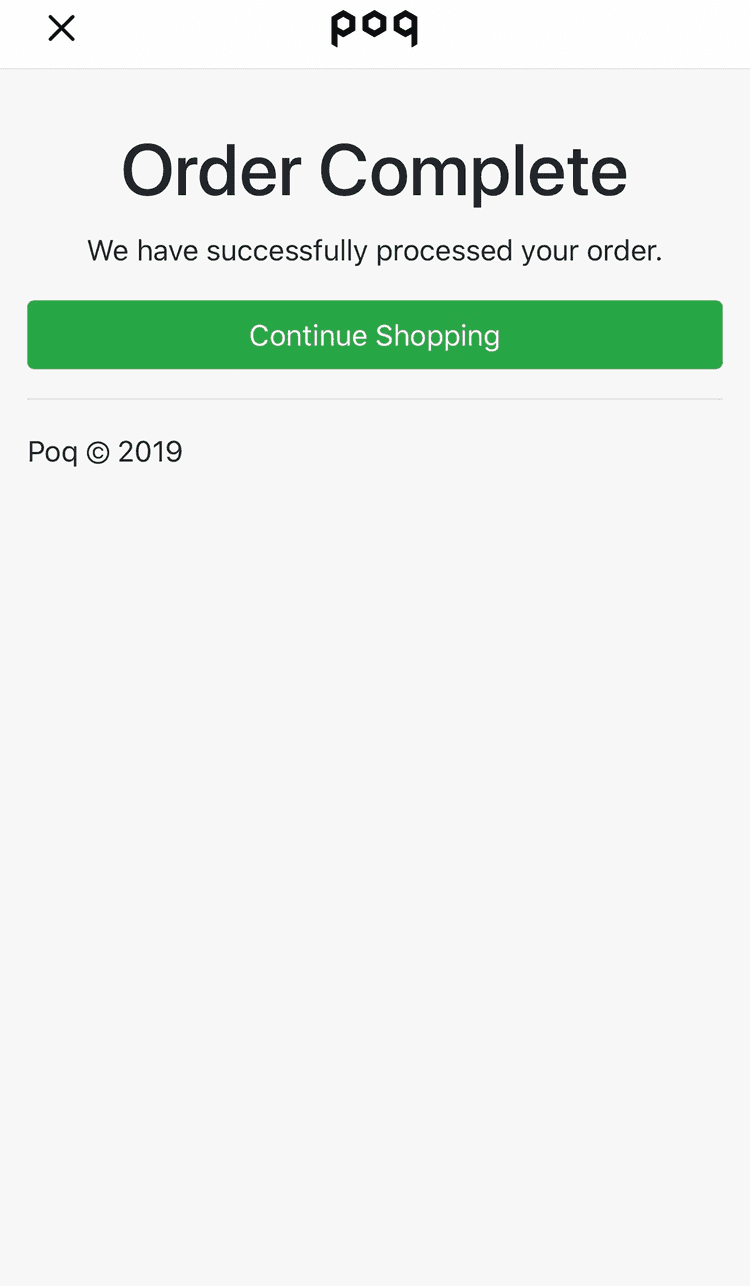
- Add a 'Continue Shopping' button to your web checkout screen that enables your customers to return to the app native screens once they have completed checkout.
- Add the Poq JavaScript snippet to your web checkout pages. This includes setting up the API call to return transaction data to your app.
- Test your implementation in debug mode.
Set up your checkout pages to support a mobile webview
To ensure your customers get a clean checkout experience, you need to ensure that the checkout screens:
- Can be displayed on mobile screen sizes
- Can display an 'Out of stock' warning if products in the customer's cart become unavailable during the checkout process.
- Do not display a header with your brand, logo, or navigation to other parts of your website.
- Do not display any other material that is not relevant to the checkout process.
Identify requests from your Poq app
To allow you optimise the checkout page (e.g. remove headers and footers), your Poq app will construct the request to the checkout page with an additional identifier in the User-Agent header in the following format:
On iOS this is the bundle-name of your app. This usually tends to be <Client-Name> - Live but do confirm the actual string with your project team.
On Android this is the App Name.
An example for the out-of-the-box iOS user-agent is as follows:
Mozilla/5.0 (iPhone; CPU iPhone OS 16_2 like Mac OS X) AppleWebKit/605.1.15 (KHTML, like Gecko) PoqDemoApp - Live/14 (iPhone; iOS/16.2) CFNetwork/1402.0.8 Darwin/22.6.0 poq.ios/21.0.4An example for the out-of-the-box Android user-agent is as follows:
Mozilla/5.0 (Linux; Android 14; sdk_gphone64_arm64 Build/UE1A.230829.036.A2; wv) AppleWebKit/537.36 (KHTML, like Gecko) Version/4.0 Chrome/126.0.6478.186 Mobile Safari/537.36 PoqDemoApp/2024.SS-1.0We recommend detecting this change on the server-side and changing the template or view used to render the web payment screens. You can also use JavaScript once the page has been loaded to hide elements if you are restricted.
- .NET
- PHP
- JavaScript
if (Request.UserAgent.IndexOf("PoqDemoApp") > -1){ // Use mobile webview template}Note: The bundle name on iOS and the App Name on Android are configured by your development team and can be configured differently. In which case both strings would need to be checked for on your webpage to optimise for app. Alternatively these user-agents can easily be customised on either platform to adopt a pattern that is consistent across both platforms.
Create a continue shopping button
Add a button allowing your customer to return to the native screens in your app, once they have completed checked out.

Integrate the Poq Web Checkout JavaScript into your website
To integrate the JS bridge into your checkout pages:
Add the following script before the
</body>tag on your website’s checkout pages. This snippet must be loaded only once per page:<script>!function(p,o,q){var n=p.PoqWebCheckout={q:[]},i=["options","send","on","destroy"];function r(e,a){var n=o.createElement(q);q=o.getElementsByTagName(q)[0],n.src=["https://assets.poq.io/web-checkout",e,"min.js"].filter(function(e){return!!e}).join("."),n.async=1,n.crossOrigin="anonymous",a&&(n.integrity=a),q.parentNode.insertBefore(n,q)}function a(e){var a;return(null===(a=document.cookie.match("(^|;)\\s*".concat("poq.webcheckout."+e,"\\s*=\\s*([^;]+)")))||void 0===a?void 0:a.pop())||""}i.forEach(function(e){n[e]=function(){n.q.push([e,arguments])},n[i[0]]=function(e){e.debug&&r("",""),n.q.push([i[0],[e]])}}),p.poqWebCheckout={postMessage:function(e,a){"bridgesettings"===e&&(a=JSON.parse(a),n.q.push([i[0],[a]]),r(a.version,a.integrity))}};var c="{\"name\":\"ping\"}";p.android?p.android.postMessage(c):"ios"===a("platform")?r(a("version"),a("integrity")):p.webkit&&p.webkit.messageHandlers.poqWebCheckout.postMessage(c)}(window,document,"script")</script>When the checkout has been completed and the order has been placed, send the order to your Poq app in the following format:
PoqWebCheckout.send('paymentcompleted', {order: {total: 13.0,orderId: '0776620100',subTotal: 10.0,delivery: 5.0,discount: 2.0,currency: 'GBP'}});
In this request, total is required, other fields are optional. See the Order schema in Poq Web Checkout API documentation for full details.
When the user wants to continue shopping, for example by tapping a button, close the WebView using:
PoqWebCheckout.send('closewebview');Test your implementation
Poq will provide you with a development build of your app before you start implementing these changes. This will allow you to inspect the webview in web browser developer tools and debug the calls made between your web payment screens and the app.
Once you have the build and you are making the necessary changes to your website, you can test them by enabling debug mode and checking the console in Google Chrome for Android builds or Safari for iOS builds.
To set up and test using debuggable mode:
- Talk to your contact at Poq to request a development version of your iOS or Android app.
- Ensure you are working in the latest version of your browser, with developer tools enabled, when testing the debuggable app.
- Enable the Poq JS bridge debug mode in your web view by adding this line of code below your Poq checkout bridge JS snippet:
PoqWebCheckout.options({ debug: true }); - Make sure your device with the debuggable version of your app is connected to your computer.
- Open your browser’s developer console.
- Go through the stages of checking out on the connected debuggable app.
- Check the JavaScript console for log messages.
A typical JavaScript console log during the checkout process looks like this:
[PoqWebCheckout] Running in debug mode[PoqWebCheckout] Setting order object: { ... }[PoqWebCheckout] Sending event: paymentcompleted { order: { ... } }