2 min read
Legacy Onboarding process - Add onboarding screens to your app
This functionality has been superceded by the new onboarding process found in the App Manager. This page is provided for legacy information only. Please visit here for guidance on setting up onboarding (unless you are using a legacy versions of the platform, please contact Poq if you are unsure).
Introduction
Whenever your customers open the app for the first time, they see your onboarding screens. These screens create the mood and set the tone for what your customers can expect. They are a way of entering the world of your app - so you can use them to highlight key screens and features.
The onboarding screens
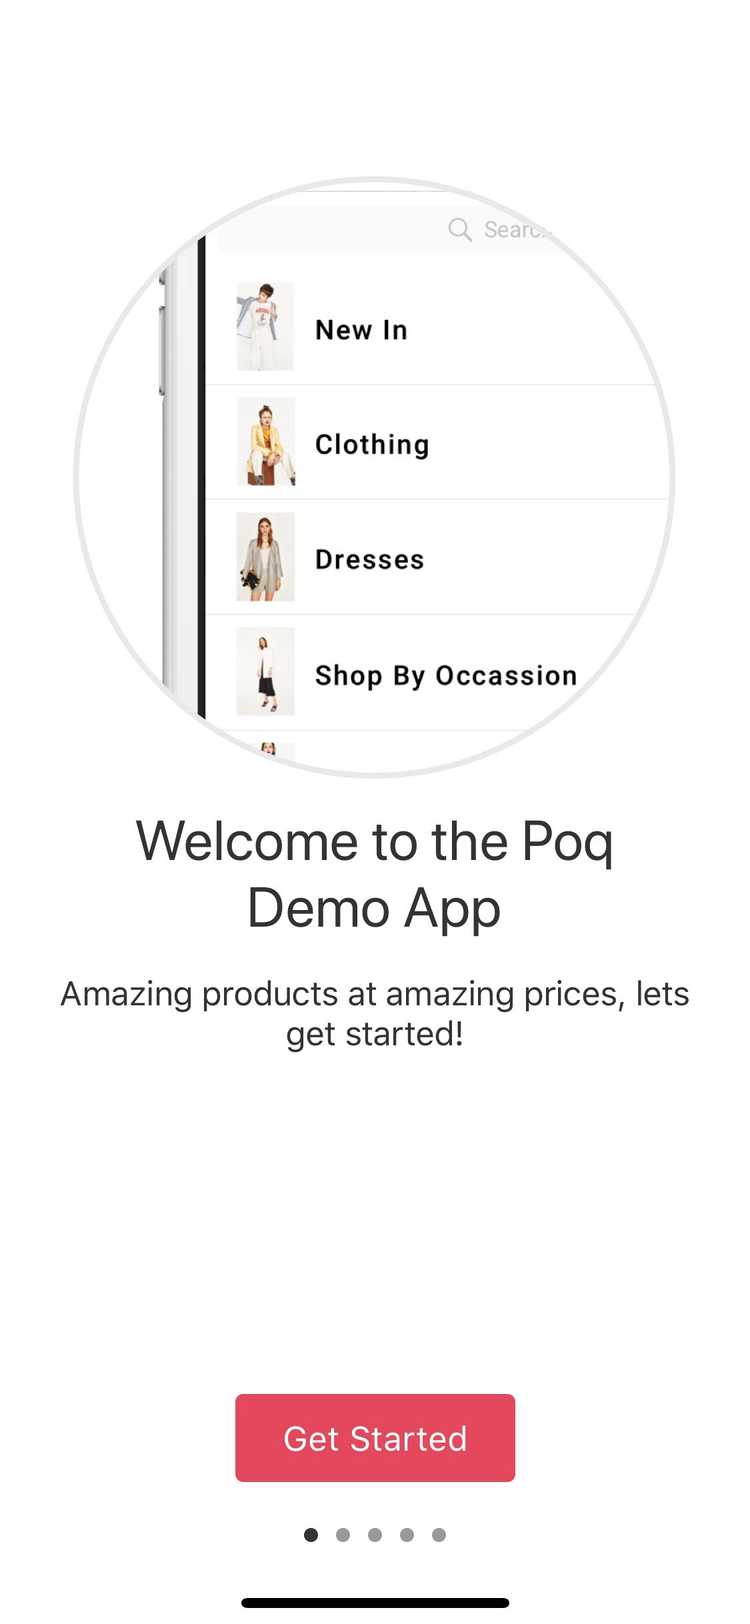
Your onboarding screens are made up of five elements:
- Content space - Gaps you can add to give each piece of content room to breathe on the screen.
- Title - A title for this onboarding screen.
- Description - Text to engage your customers.
- Banner - An image that you have already uploaded into the Poq CMS as a banner. You can use the banner to add a link from this screen to any screen in your app.
- Get started button - A call to action button that takes your customer to your chosen link or directly to your home screen.
Onboarding image size
Images used in your onboarding screens are saved in your CMS as banners, but the recommended size is specific to the onboarding process.
The recommended image size for onboarding images is 888px by 888px.
Create a new onboarding screen
Before you get started adding new onboarding screens, make sure you have uploaded any banner images you need to use. Follow these guidelines to add new images.
To create a new onboarding screen:
- From the Poq CMS Content page, select Onboarding from the top right menu.
- Click Add new.
- In the Title field, enter a name for the new onboarding screen. This name is not shown to your customers. It is used so you can find and edit existing screens.
- Using the Visibility dropdown menu, choose whether you want this screen to be Hidden or Visible to customers. You can switch this setting by editing your screen later.
- In the Display options menu, choose which devices your onboarding screen should be shown on.
- Choose the background colour - this colour appears behind text and banner blocks.
- Click Save.
Add content to an onboarding screen
You can add and edit the content on any screen in your onboarding process.
To add content to an onboarding screen.
- From the Onboarding section in the CMS, select the Onboarding screen you would like to add content to.
- Click New content.
- Give your content a name in the Title field. Unless your content is a Title block, this is not shown to your customers.
- Set the Visibility of the content block - either visible or hidden from your customers.
- Choose the Content type from the drop down list:
- For Content space and Title you do not need to add further content.
- For Description enter your text in the text box displayed.
- For Banner select a picture using the menu on the right of the screen.
- For Banners you can also enter a deep link URL in the field provided. Click How does it work? to see a list of URLs you can add here.
- Click Save.
- Repeat until you are happy with the content on your screen. You should only use one Title, one Description and one Banner for each screen.
- In the Onboarding content blocks screen Click Sort.
- Drag the content blocks into the correct order. Remember to include a content space between each block, and at the top of the screen.
- Click Done.
